After searching and searching the internet for a guide on this to no avail I decided that I would write my own. This seems like such an easy thing to do, but there is no complete guide on going it from start to finish that I have found. This tutorial will use Windows Server 2012. There is a smattering of information on it, some outdated. So without further ado…
Information you will need before you begin:
- Your Azure control panel login information
- Windows Azure Powershell (you can find it here in the middle of the page)
- The RDP connection shortcut from your Azure control panel for the VM that you want to enable passive FTP (see the first step on how to get the shortcut)
Assumptions:
- You have a basic knowledge of the Azure Dashboard
- You have an understanding of how to use a command-line interface
- You have knowledge of FTP and how it works, VM’s and how they work, and basic network protocols.
- You have a basic knowledge of how RDP works.
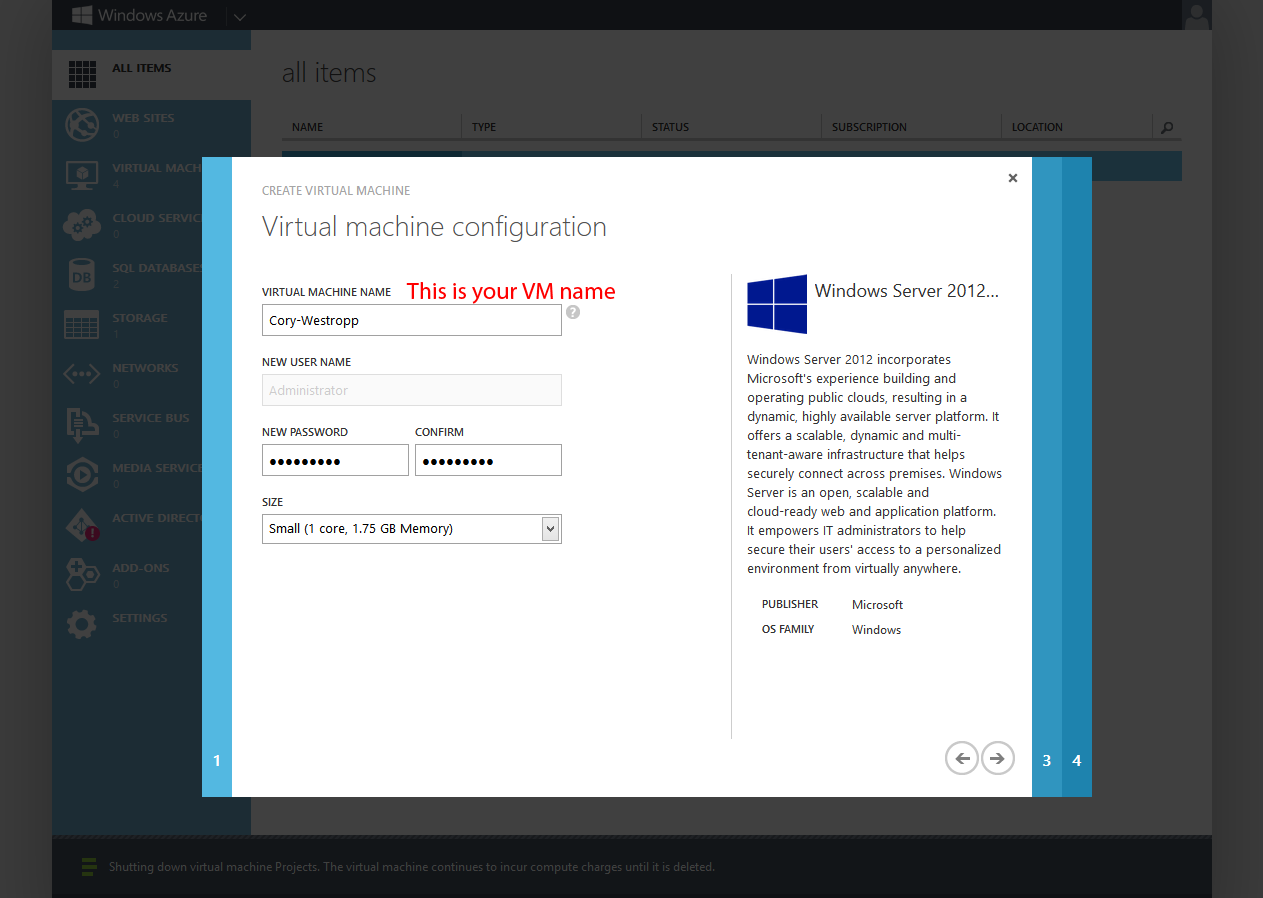
First, start a VM
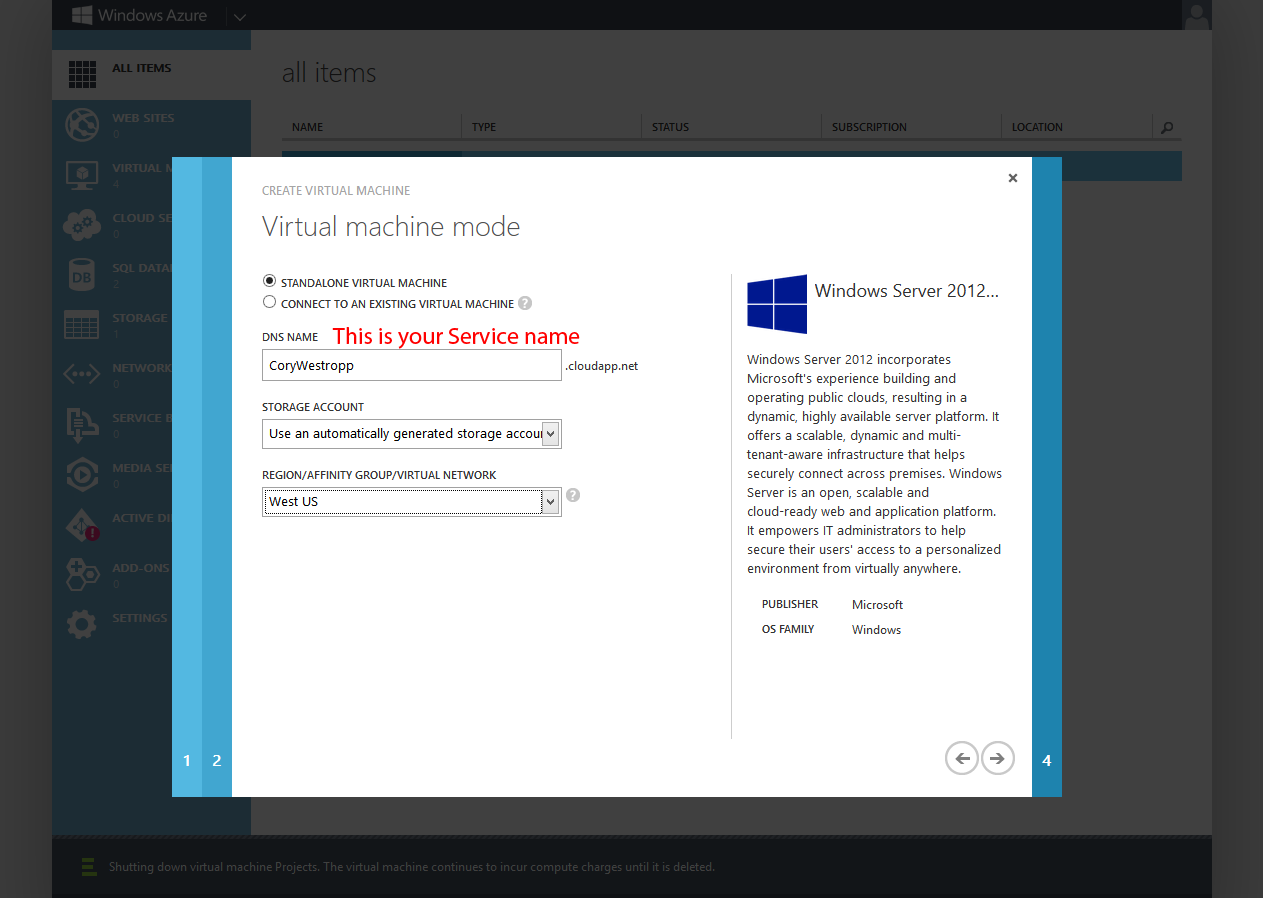
Of course the first thing you will need is a VM to use. There are two things you must take note of when you create the VM. The VM Name and the service name.

Once you have created the VM you can download the RDP shortcut by selecting the VM and clicking the Connect button on the taskbar on the bottom of the dashboard.

Login and set up Passive FTP
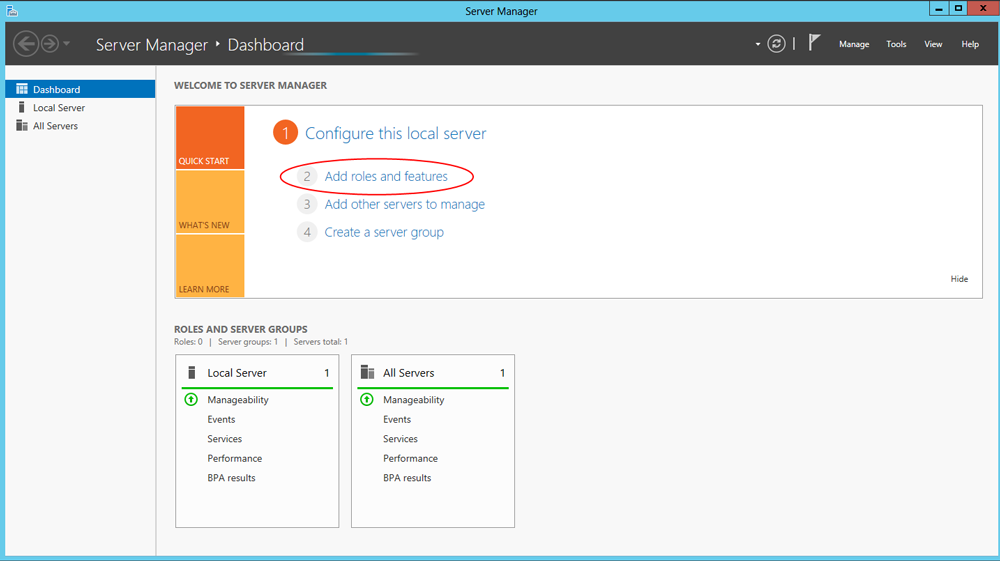
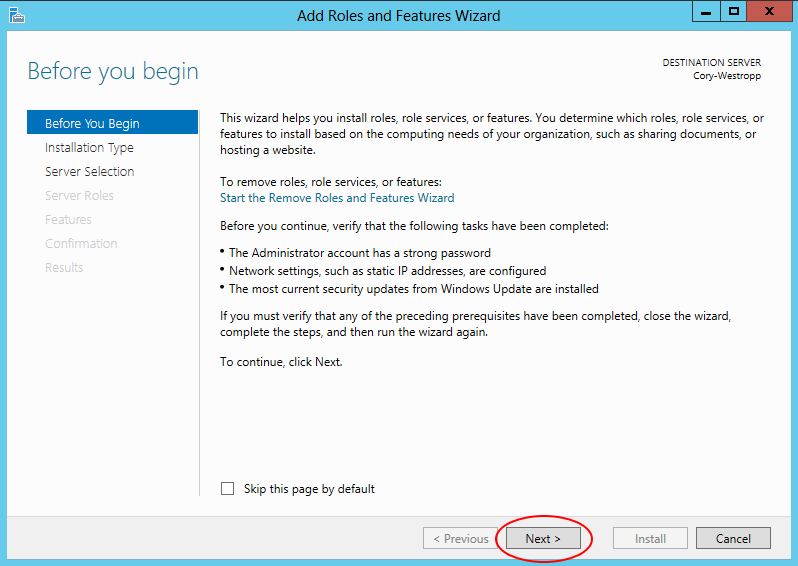
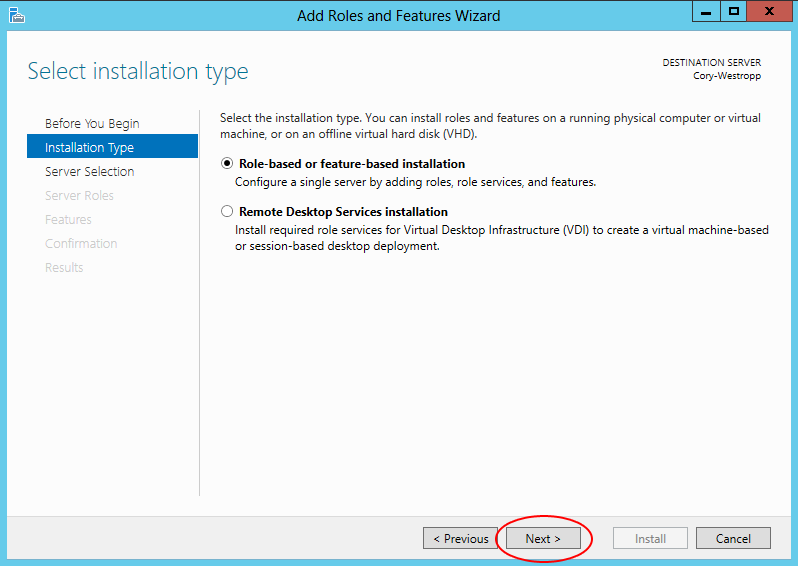
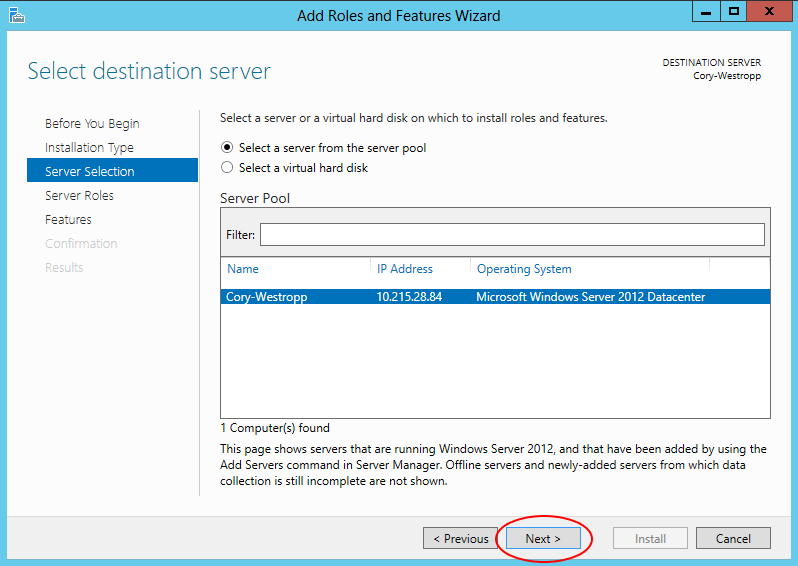
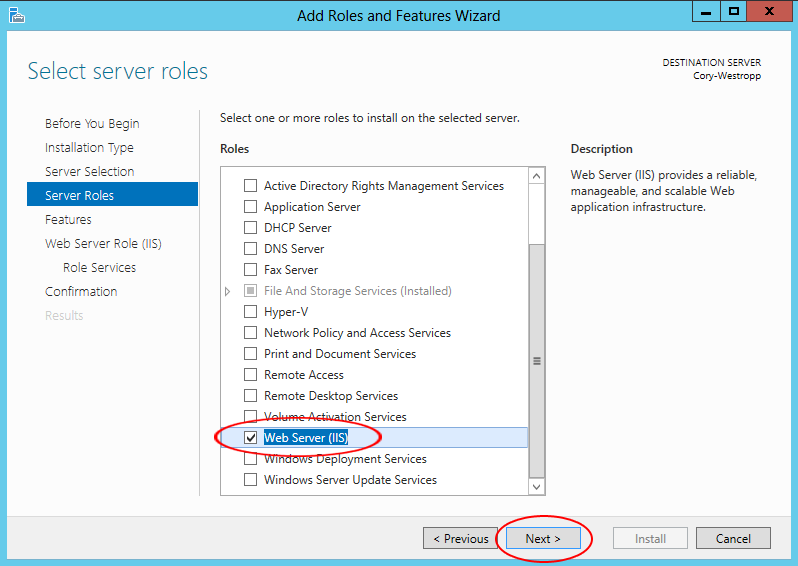
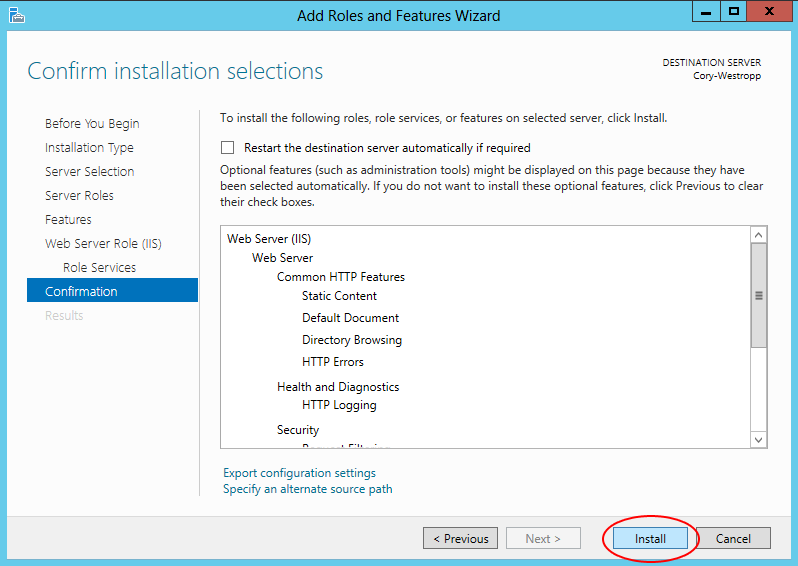
Once you are logged into your VM set up IIS. Make sure that you select FTP Sever when setting up the IIS role.


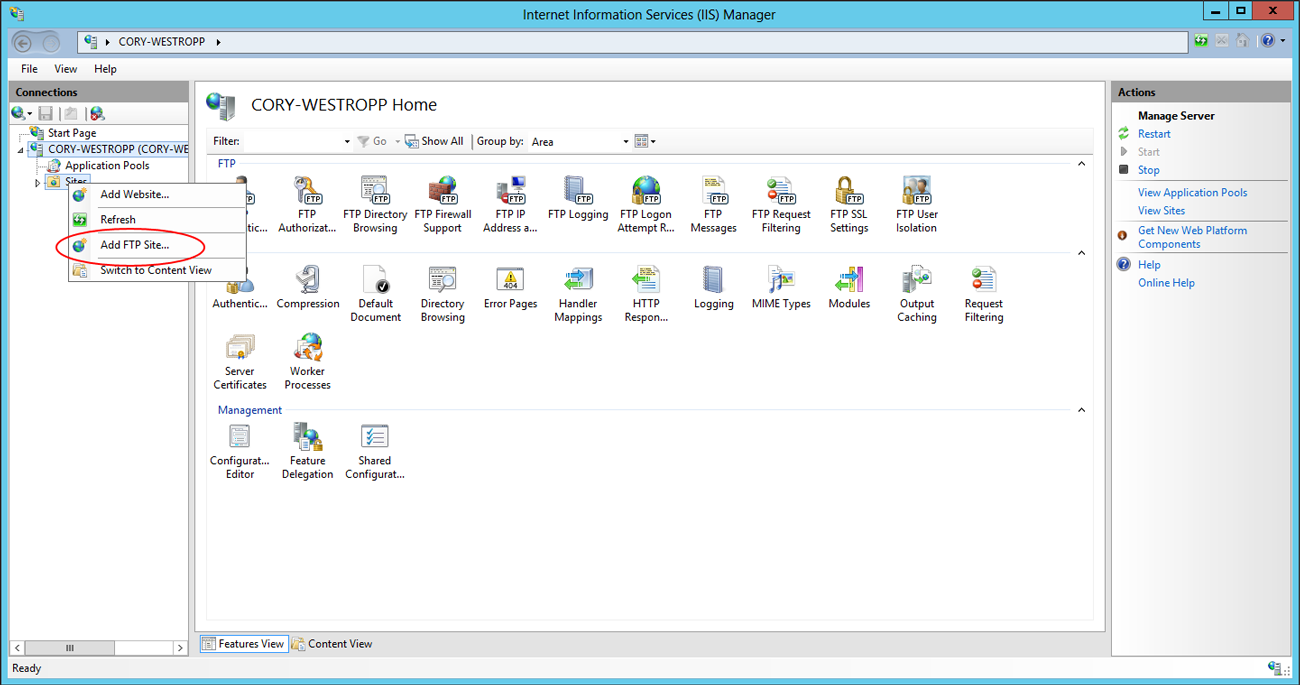
Now open up your IIS Manager (Hit the Windows Key, then type IIS) right click “Sites” and select “Add FTP Site…“
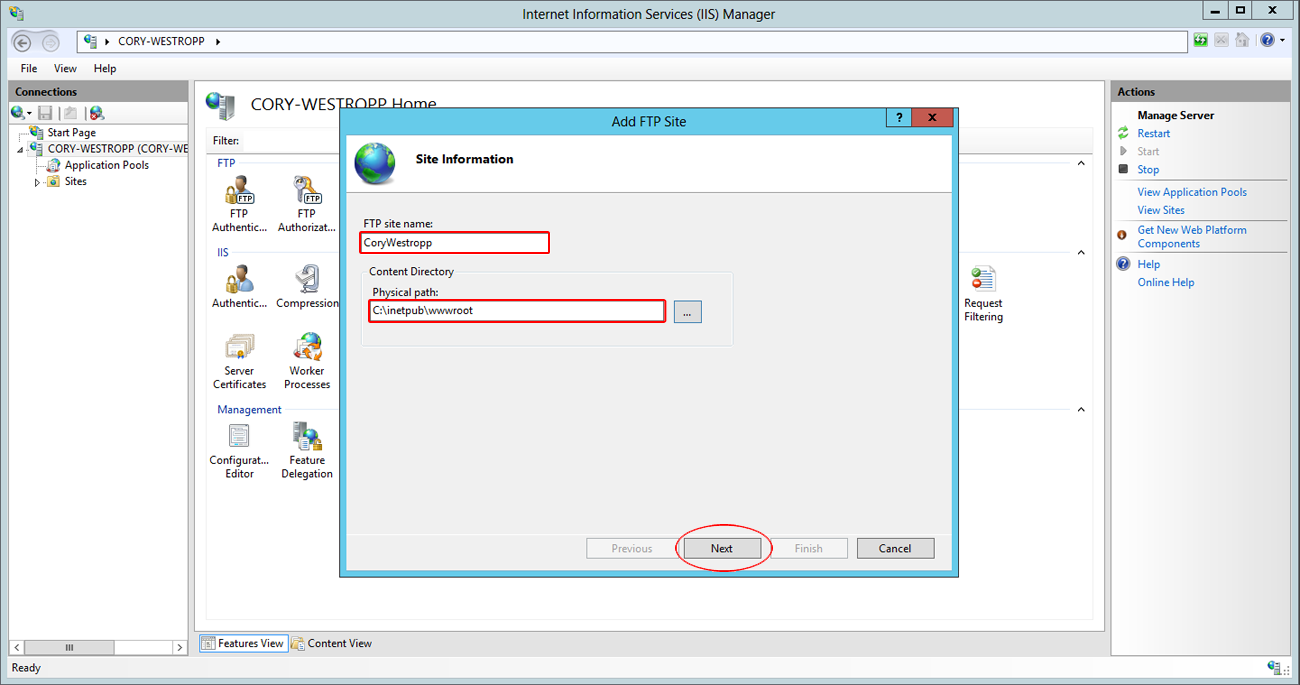
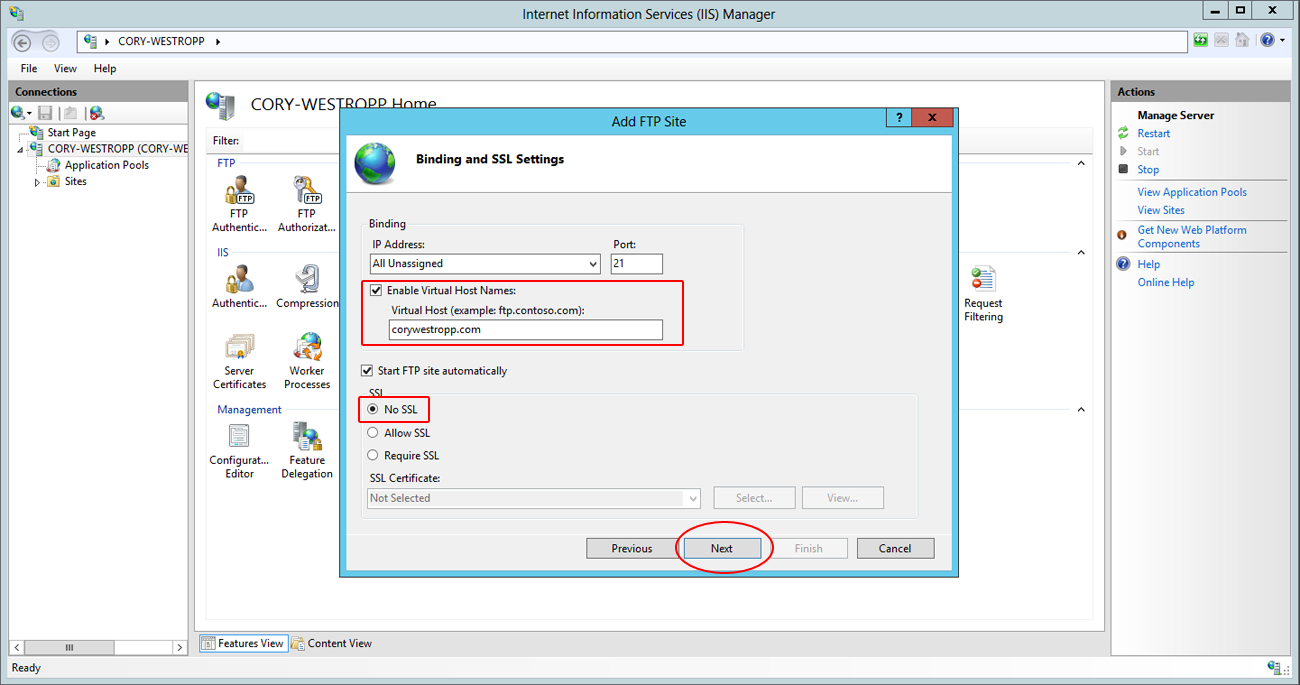
Specify the name, path, bindings and SSL info.
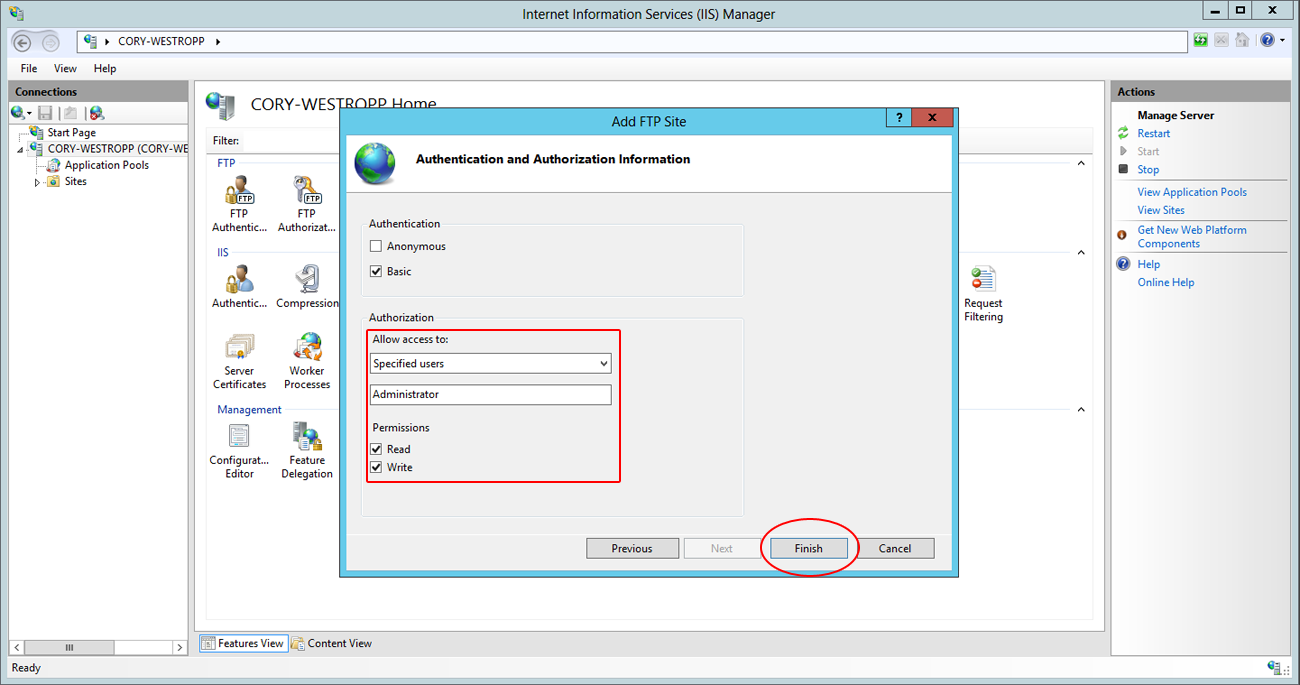
Specify who should have access to the FTP site. Note: using basic authentication with the local admin account is not a good idea, even with SSL enabled. If you do not have SSL login credentials are sent over the net in cleartext. Using a different authentication method, as well as setting up SSL, is outside the scope of the tutorial.
At this point you should be able to open up a cmd prompt (Hit Windows Key, then type cmd) and access the FTP site from the VM. Open a cmd prompt, type “ftp 127.0.0.1″ and login with the admin password.

Now to allow remote Passive FTP connections
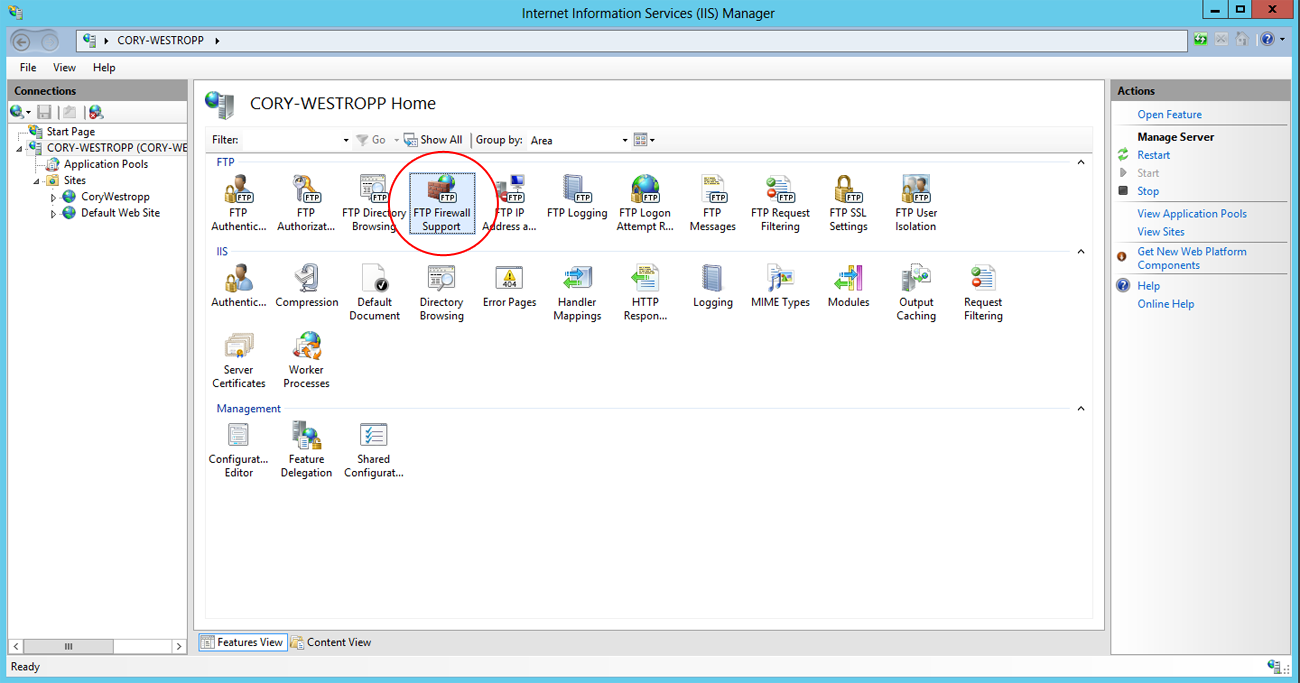
Now comes the hard part. First we have to configure IIS to accept passive connections. Click on your Server Name and open up “FTP Firewall Support”
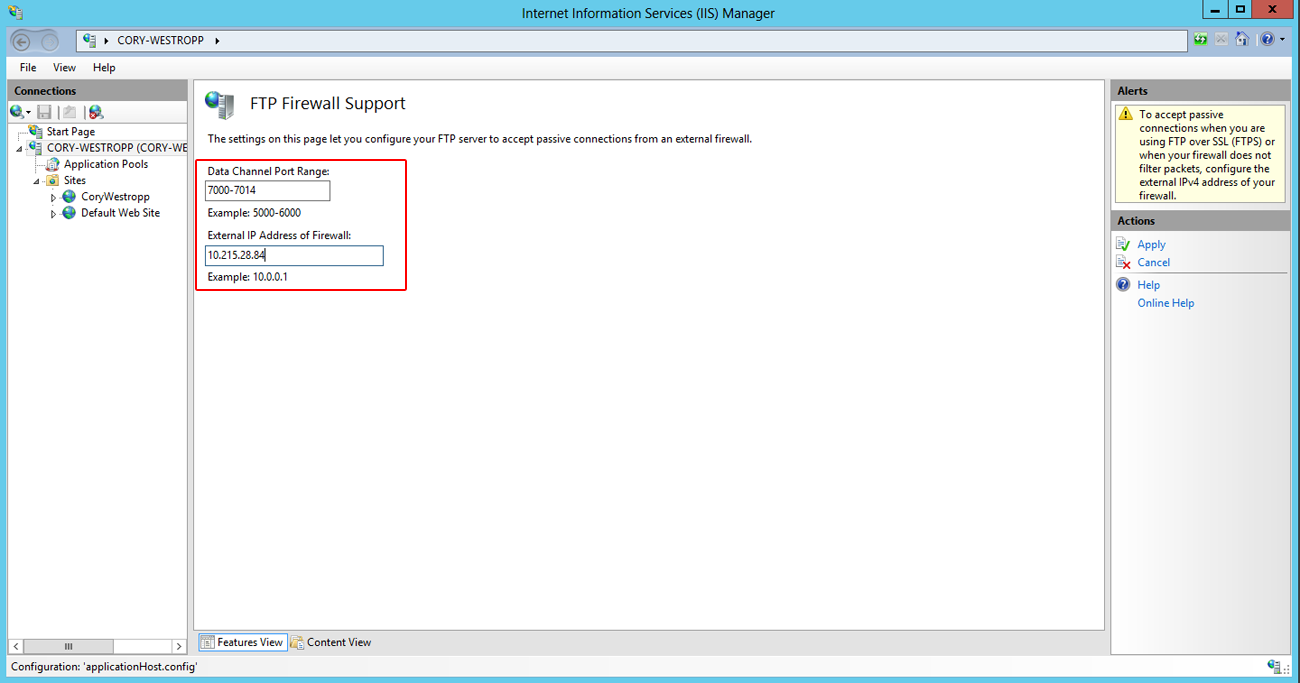
Set the port range to 7000-7014, or whatever port range you want and set the External IP to the Internal IP of you VM from your Azure control panel.
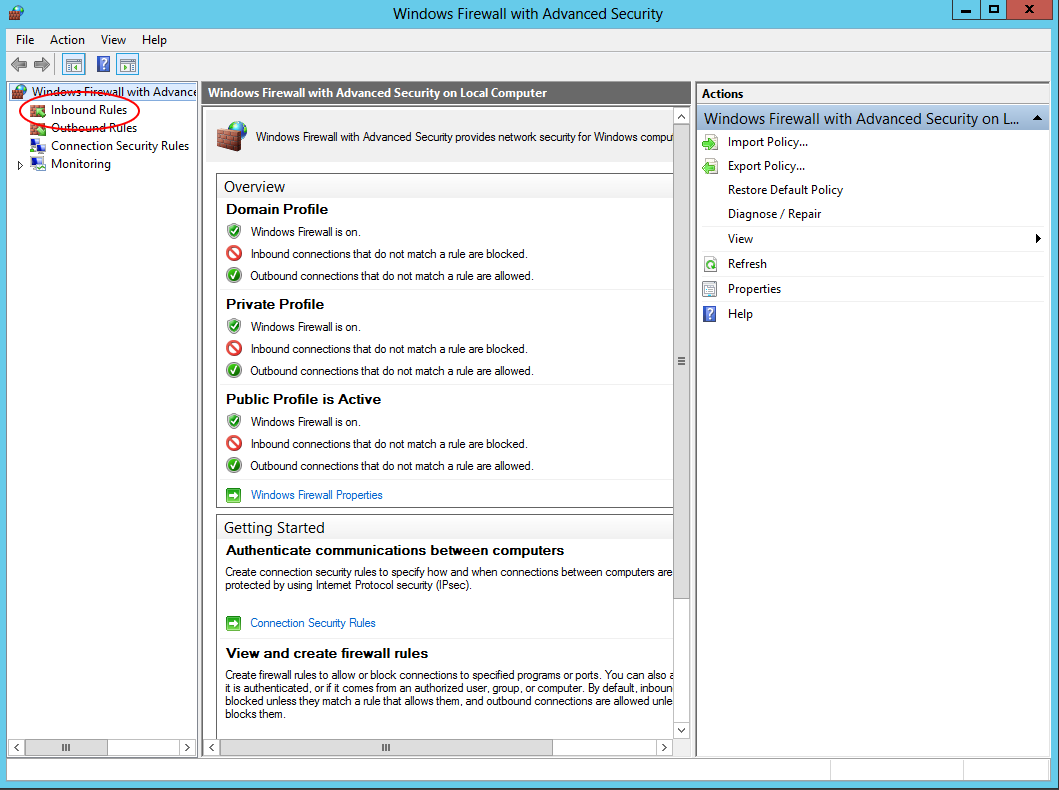
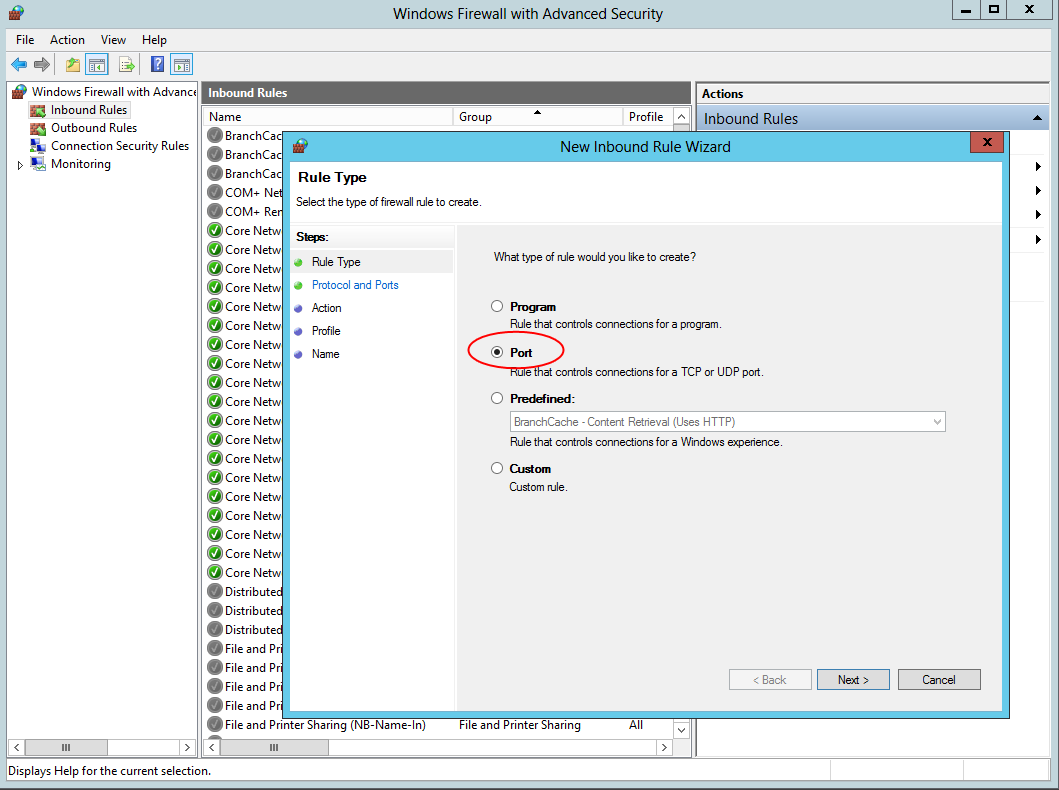
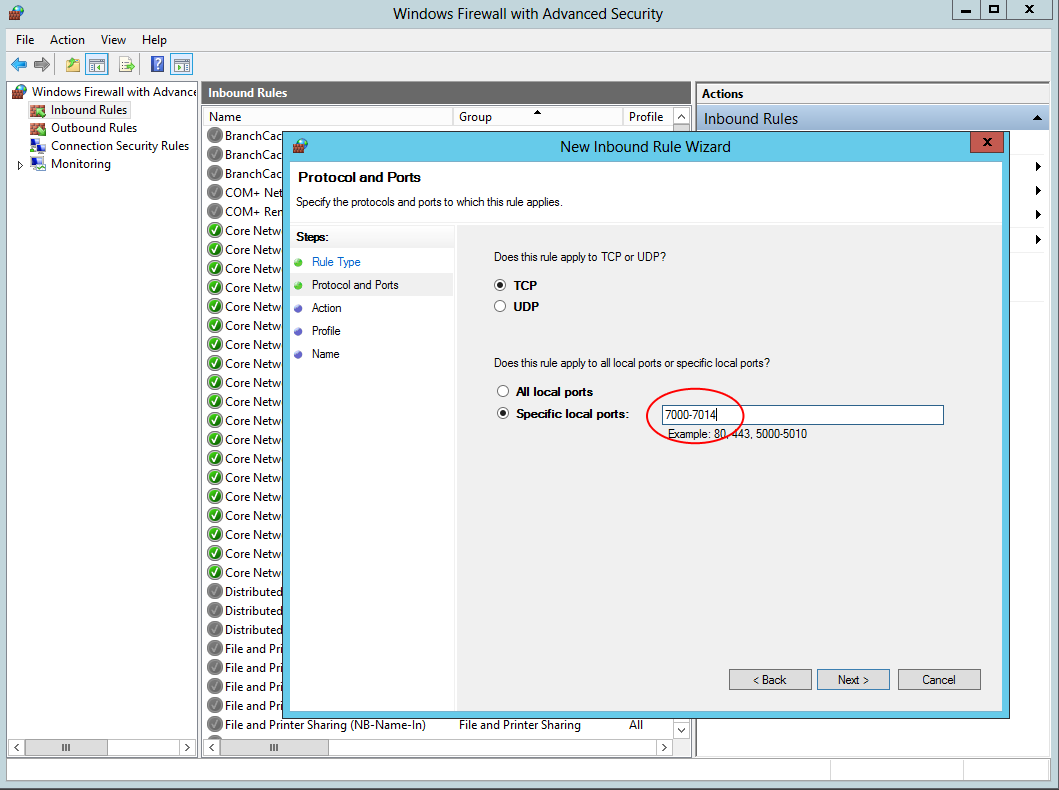
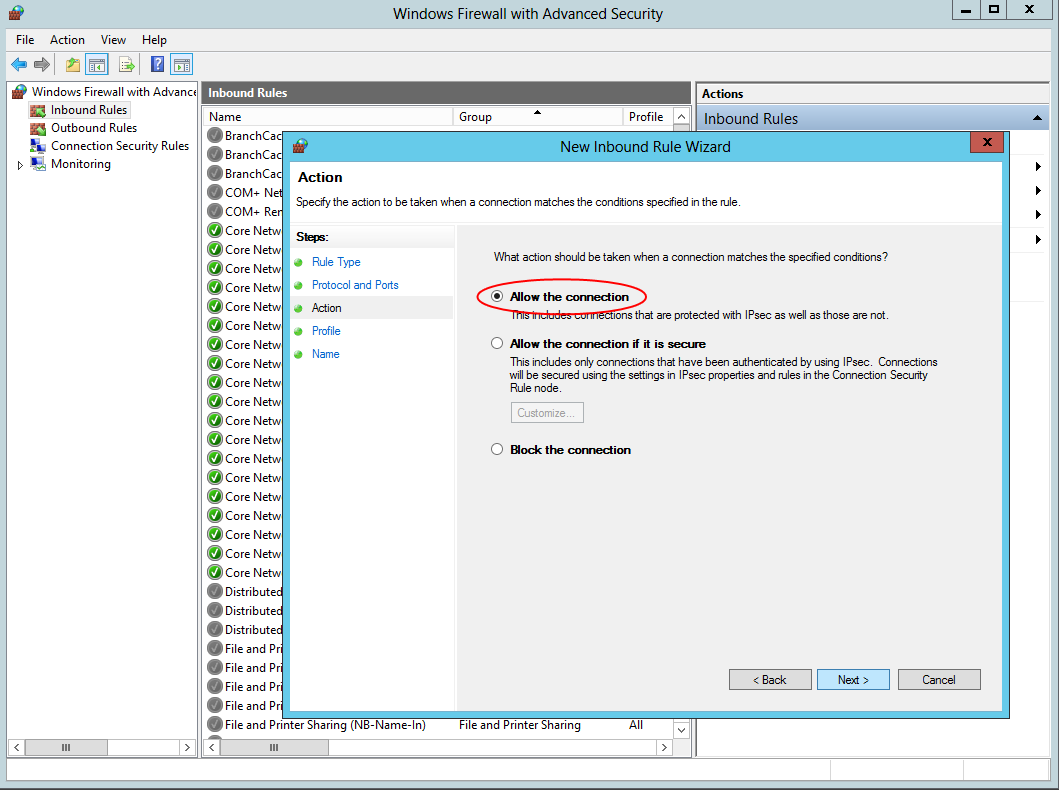
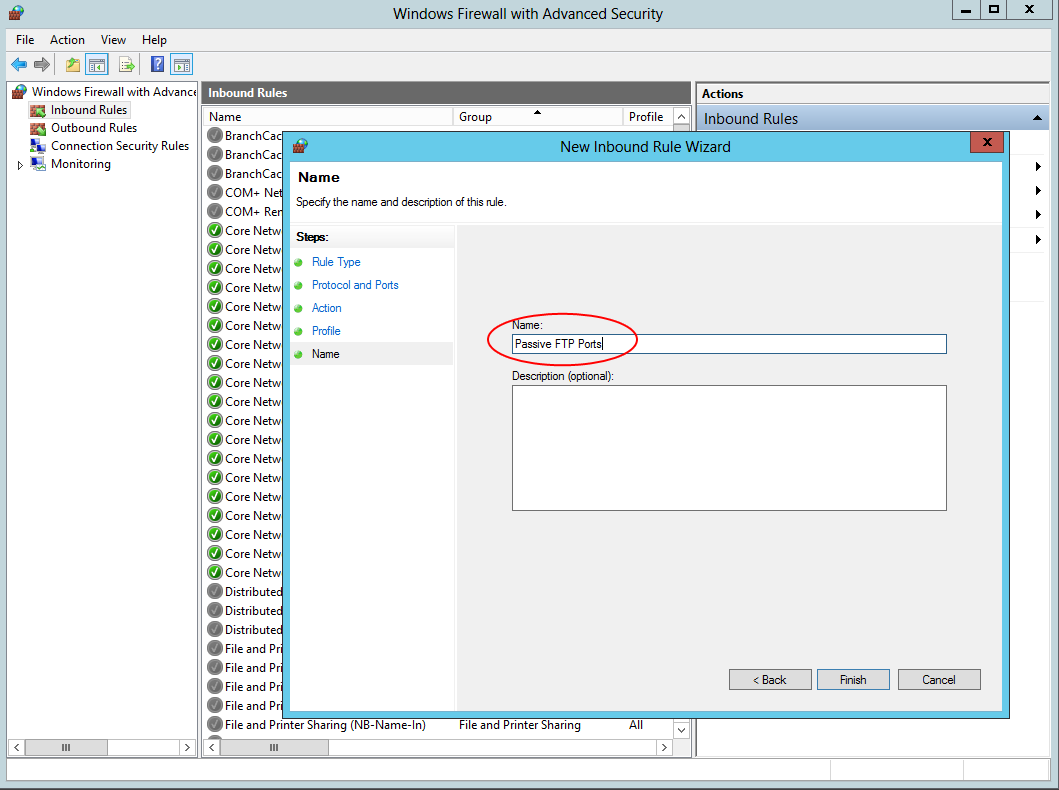
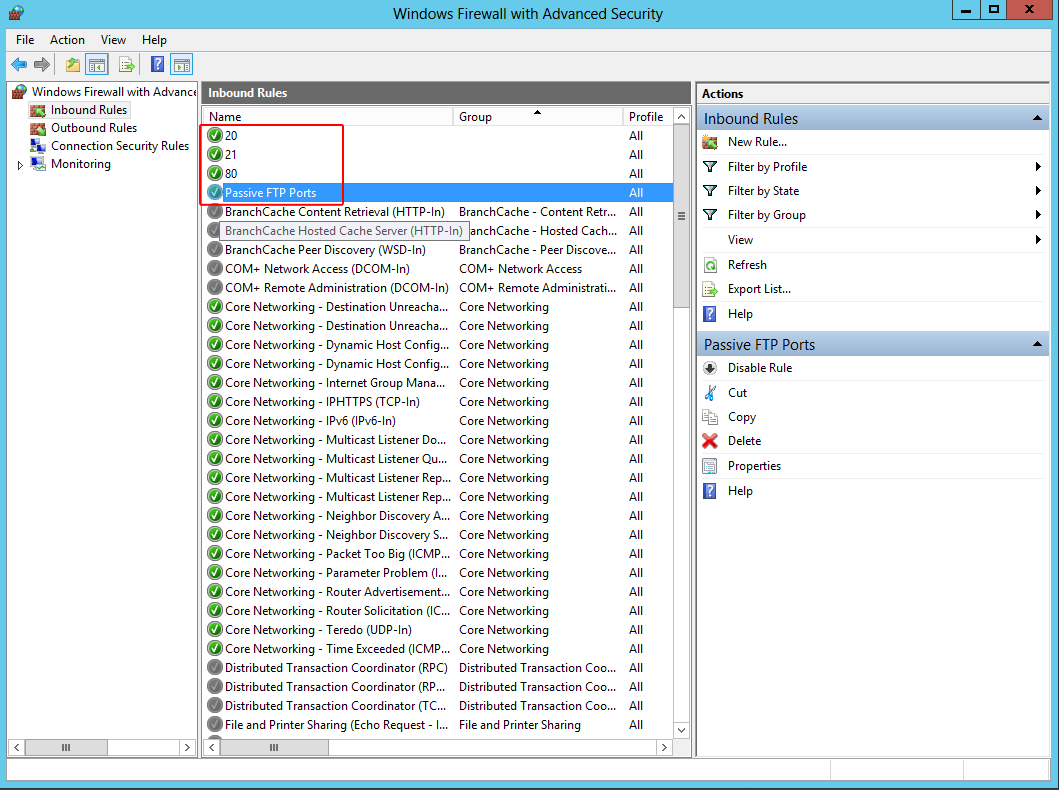
Now open up the Windows Firewall and set the port range (7000-7014) to allow all incoming connections. While you are there go ahead and set the following:
Port 80, TCP, allow all – for HTTP traffic
Port 20 & 21, TCP, allow all – for FTP connections
Setting up the endpoints
Now we have to set up the endpoints. Using the Azure dashboard makes this a pain as you have to add one endpoint at a time. That would take forever with 14 ports for the passive FTP range. So we are going to use the Azure Powershell.
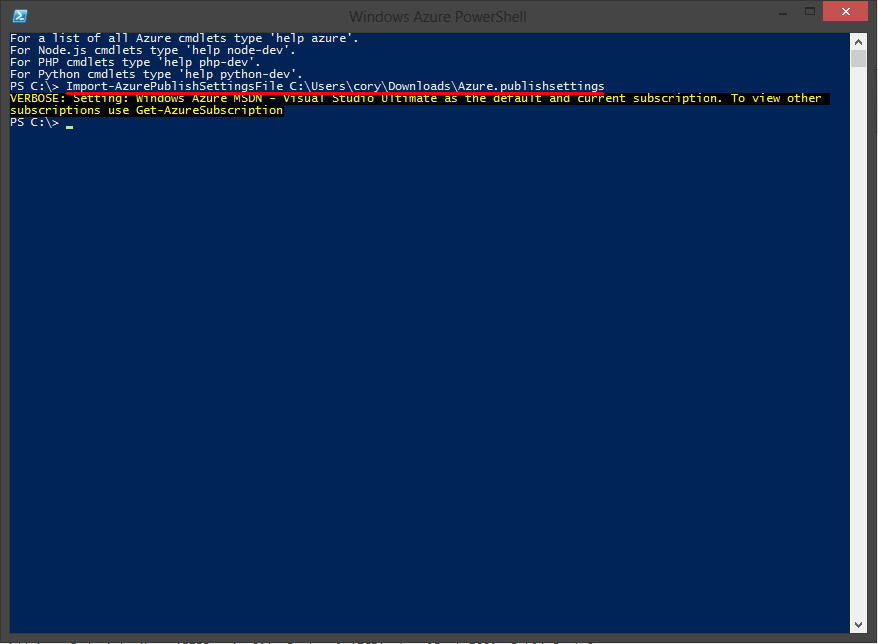
First, we have to download our publish settings file. We can do this using the Get-AzurePublishSettingsFile cmdlet. You can paste the cmdlet into the Powershell by right clicking.

Once you press enter the Powershell will open your browser and direct you to the Windows Live login page. Once you log in it will download your publish settings file. Once you have it you can use the Import-AzurePublishSettingsFile to import the settings into the Powershell.
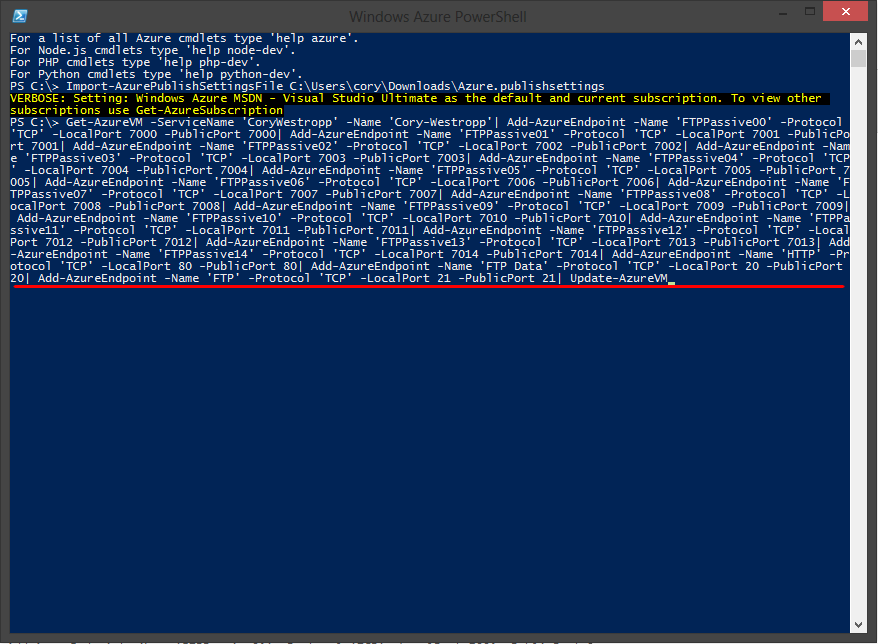
Next we are going to set up the commands to enter into the Powershell. First, open up your favorite text editor and type in the following (replacing ServiceName and Name with your Service Name and VM Name, respectively):
NOTE: Make sure you remove the new lines before you paste this into your Powershell.
Get-AzureVM -ServiceName 'CoryWestropp' -Name 'Cory-Westropp'
| Add-AzureEndpoint -Name 'FTPPassive00' -Protocol 'TCP' -LocalPort 7000 -PublicPort 7000
| Add-AzureEndpoint -Name 'FTPPassive01' -Protocol 'TCP' -LocalPort 7001 -PublicPort 7001
| Add-AzureEndpoint -Name 'FTPPassive02' -Protocol 'TCP' -LocalPort 7002 -PublicPort 7002
| Add-AzureEndpoint -Name 'FTPPassive03' -Protocol 'TCP' -LocalPort 7003 -PublicPort 7003
| Add-AzureEndpoint -Name 'FTPPassive04' -Protocol 'TCP' -LocalPort 7004 -PublicPort 7004
| Add-AzureEndpoint -Name 'FTPPassive05' -Protocol 'TCP' -LocalPort 7005 -PublicPort 7005
| Add-AzureEndpoint -Name 'FTPPassive06' -Protocol 'TCP' -LocalPort 7006 -PublicPort 7006
| Add-AzureEndpoint -Name 'FTPPassive07' -Protocol 'TCP' -LocalPort 7007 -PublicPort 7007
| Add-AzureEndpoint -Name 'FTPPassive08' -Protocol 'TCP' -LocalPort 7008 -PublicPort 7008
| Add-AzureEndpoint -Name 'FTPPassive09' -Protocol 'TCP' -LocalPort 7009 -PublicPort 7009
| Add-AzureEndpoint -Name 'FTPPassive10' -Protocol 'TCP' -LocalPort 7010 -PublicPort 7010
| Add-AzureEndpoint -Name 'FTPPassive11' -Protocol 'TCP' -LocalPort 7011 -PublicPort 7011
| Add-AzureEndpoint -Name 'FTPPassive12' -Protocol 'TCP' -LocalPort 7012 -PublicPort 7012
| Add-AzureEndpoint -Name 'FTPPassive13' -Protocol 'TCP' -LocalPort 7013 -PublicPort 7013
| Add-AzureEndpoint -Name 'FTPPassive14' -Protocol 'TCP' -LocalPort 7014 -PublicPort 7014
| Add-AzureEndpoint -Name 'HTTP' -Protocol 'TCP' -LocalPort 80 -PublicPort 80
| Add-AzureEndpoint -Name 'FTP Data' -Protocol 'TCP' -LocalPort 20 -PublicPort 20
| Add-AzureEndpoint -Name 'FTP' -Protocol 'TCP' -LocalPort 21 -PublicPort 21
| Update-AzureVM
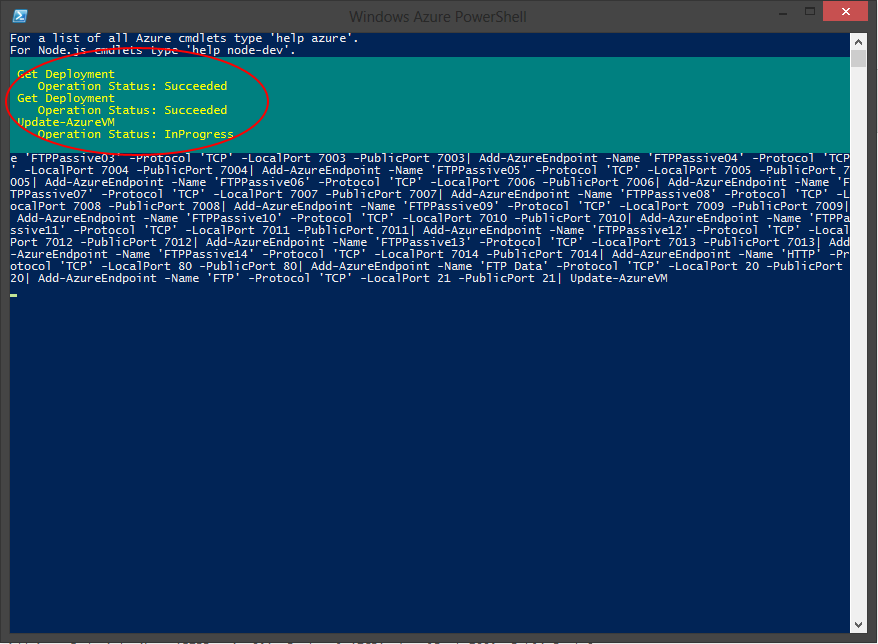
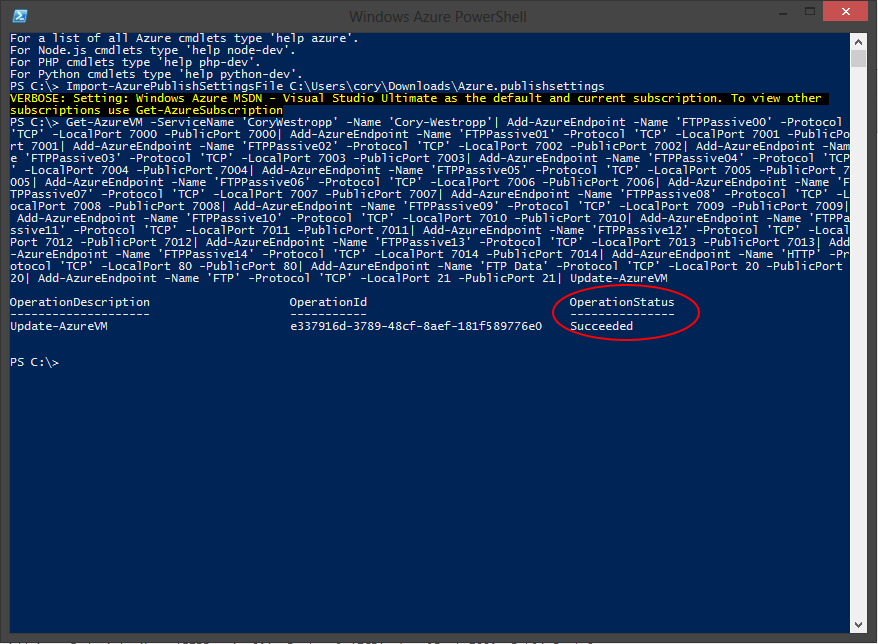
Once the update is finished you will see this:
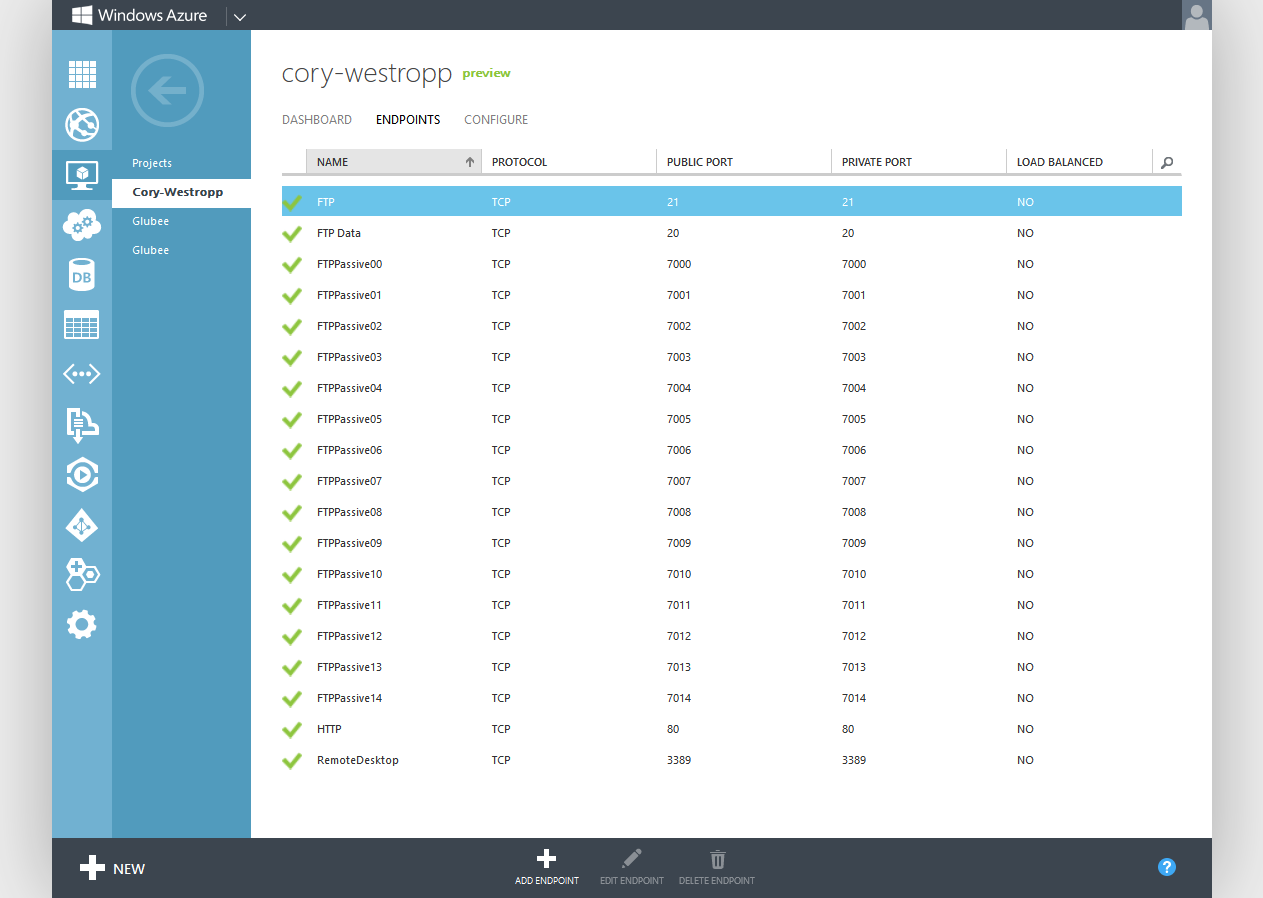
Then you can head over to your Azure Dashboard and take a look at all your new endpoints.
Next we need to enable stateful FTP filtering. Open up a cmd prompt and enter the following:
netsh advfirewall set global StatefulFtp enable
Then restart the FTP service:
net stop ftpsvc
net start ftpsvc
Now open up your favorite FTP client and test out your new Passive FTP!